NodeMcu & MicroPython
26 January 2020 | Kevin McAleer
This weekend I’ve been investigating how to load MicroPython onto a NodeMCU chip, and then loading python code onto this via Thonny IDE. I’ve also been exploring Blockly, which is a visual block based programming tool for beginners.
Why have I been doing this you might ask?
The Arduino is a great platform for beginning to learn about robotics, and coding; there are lots of resources and they are easy to find and buy. However they are limited in memory and capability, when compared with a more sophicated chip, like the NodeMCU. Arduino’s are 8bit chips, meaning there is a lower limit to how much memory you can address. At some point you may hit this limitation and will need to look to a chip with more grunt. The NodeMCU is such a chip - its 32bit, and often comes with 4Mb of RAM, which is orders of magnitude more than the Arduino.
NodeMCUs also come with WIFI as standard (but not bluetooth strangly - on the ESP8266 version).
OttoDIY
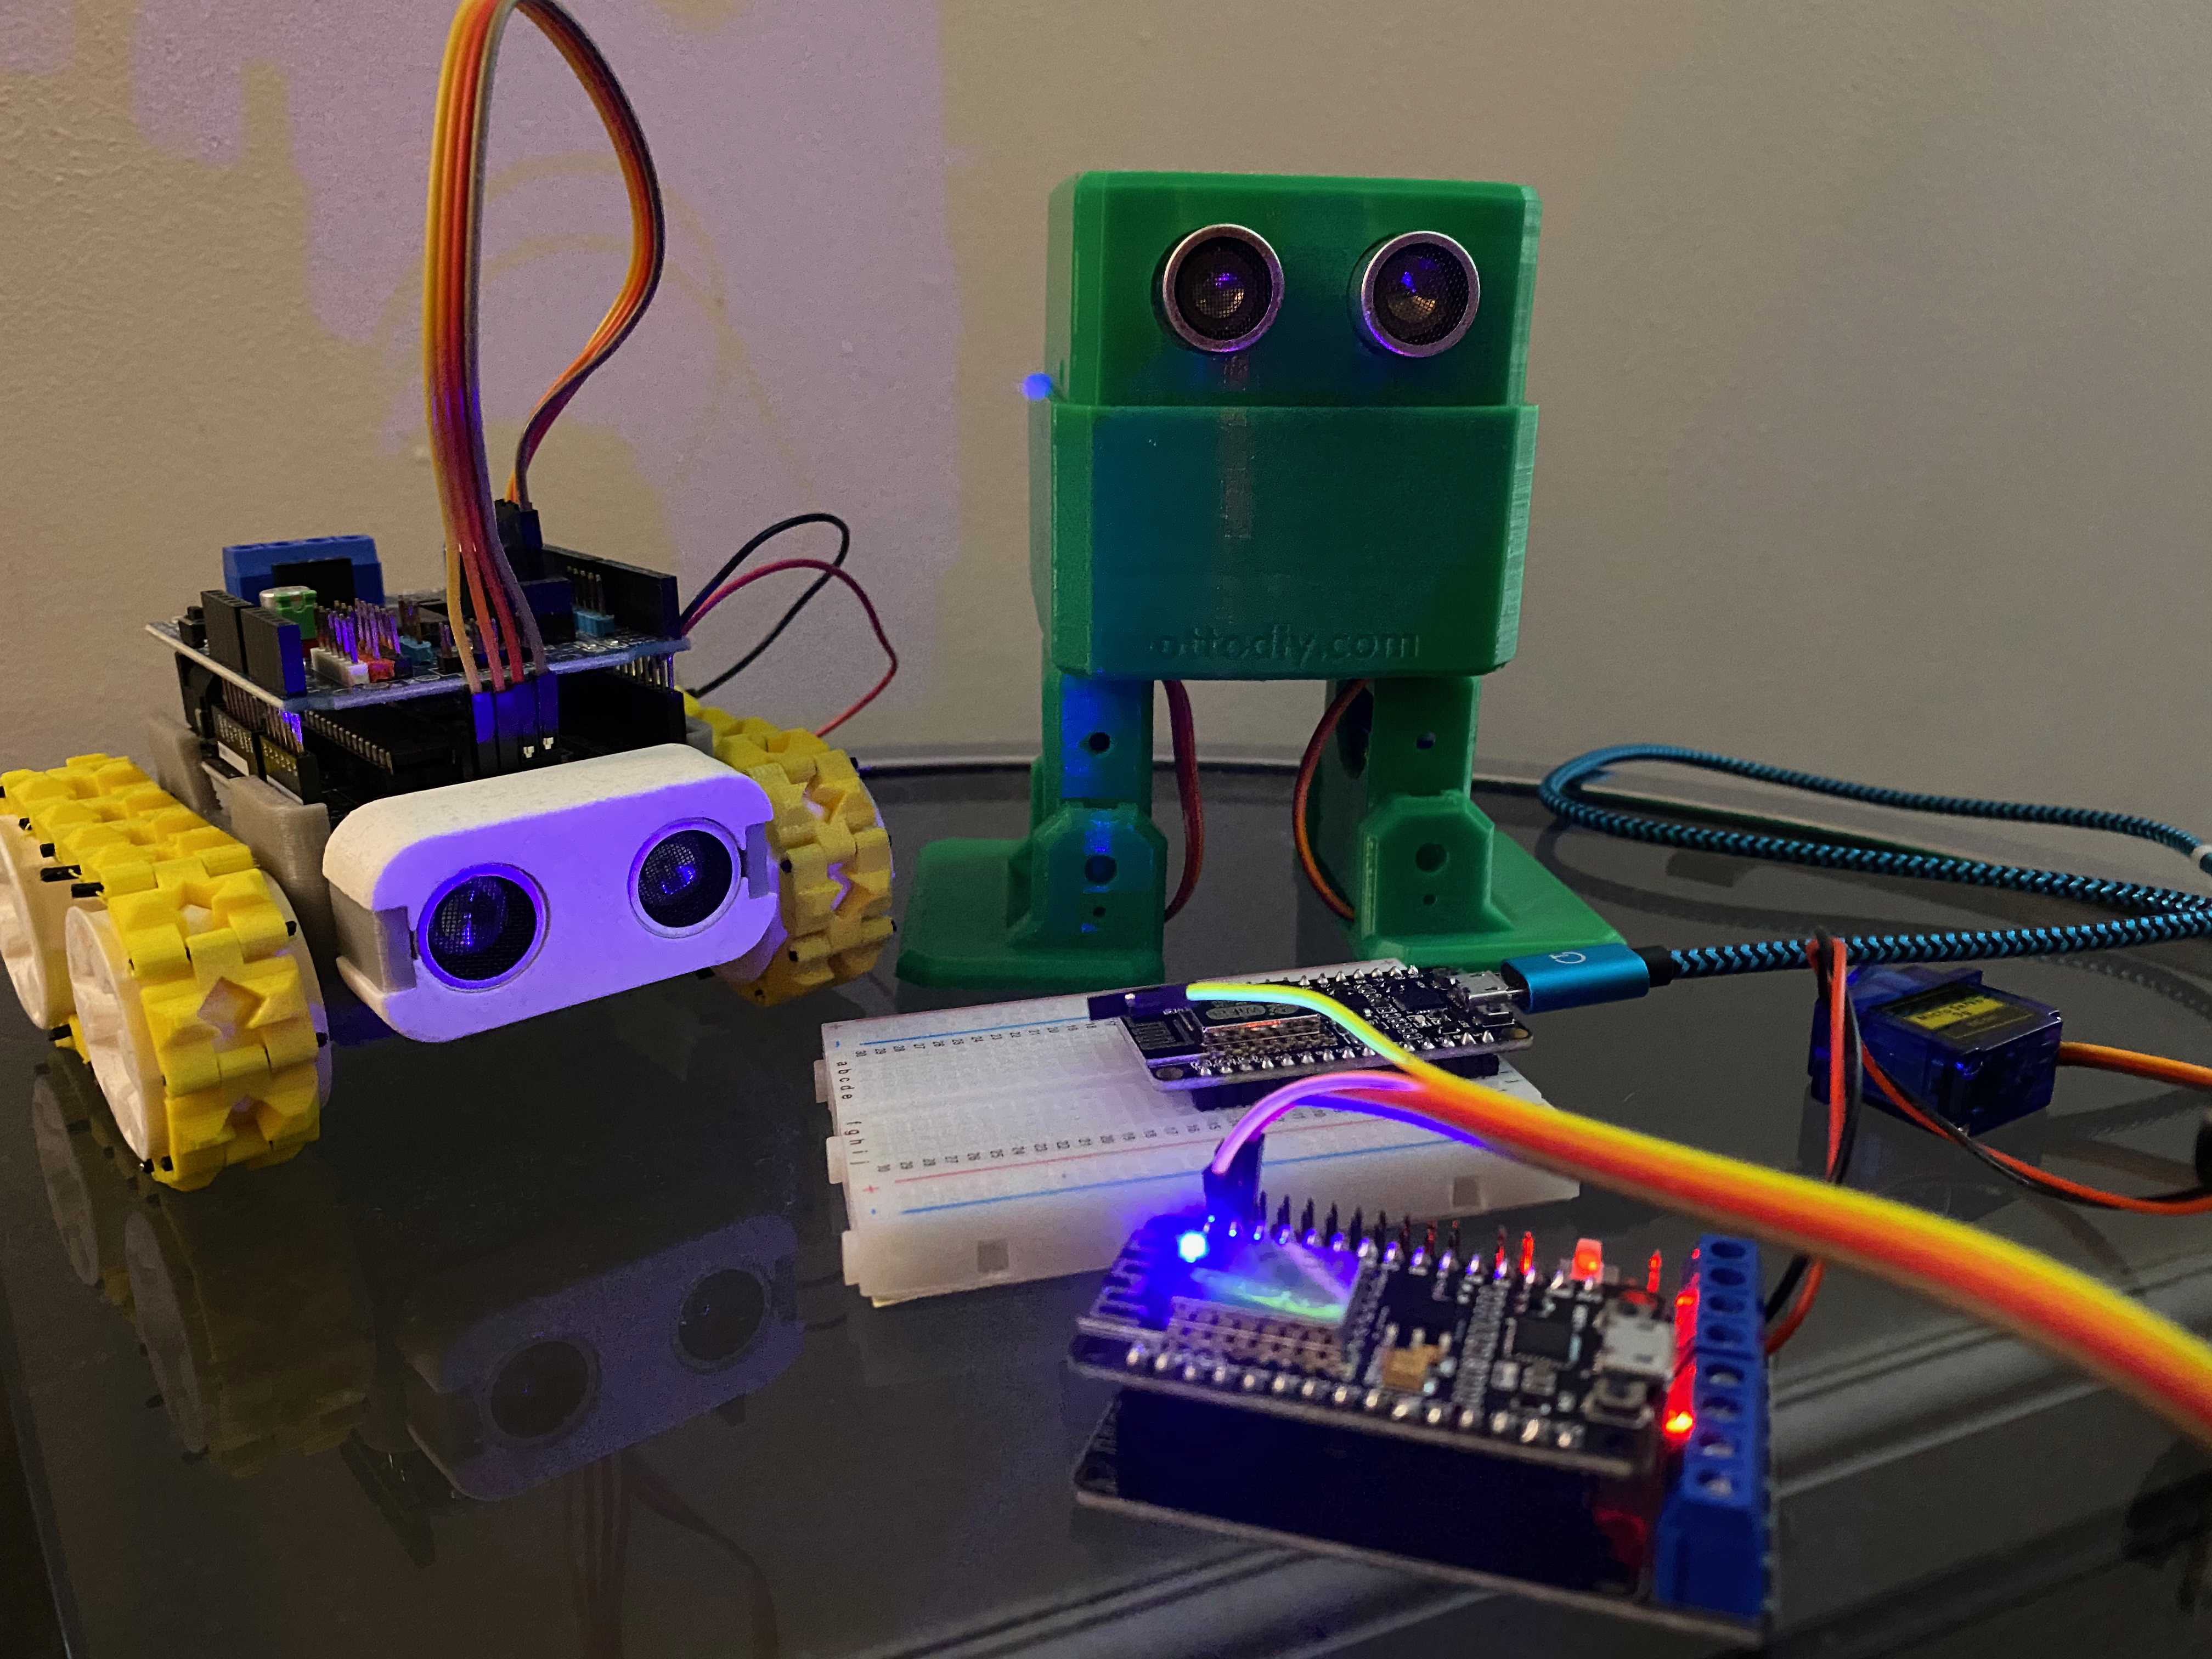
I was recently contacted by Camilo Parra Palacio, the designer of otto of http://www.ottodiy.com. Its a similar kind of project to SMARS, in that its designed for hobbists - interesting in learning about robotics, electronics, coding and engineering. Otto is powered by Arduino simliar to SMARS, but has much more features using the software written by Camilo and the Otto Community.
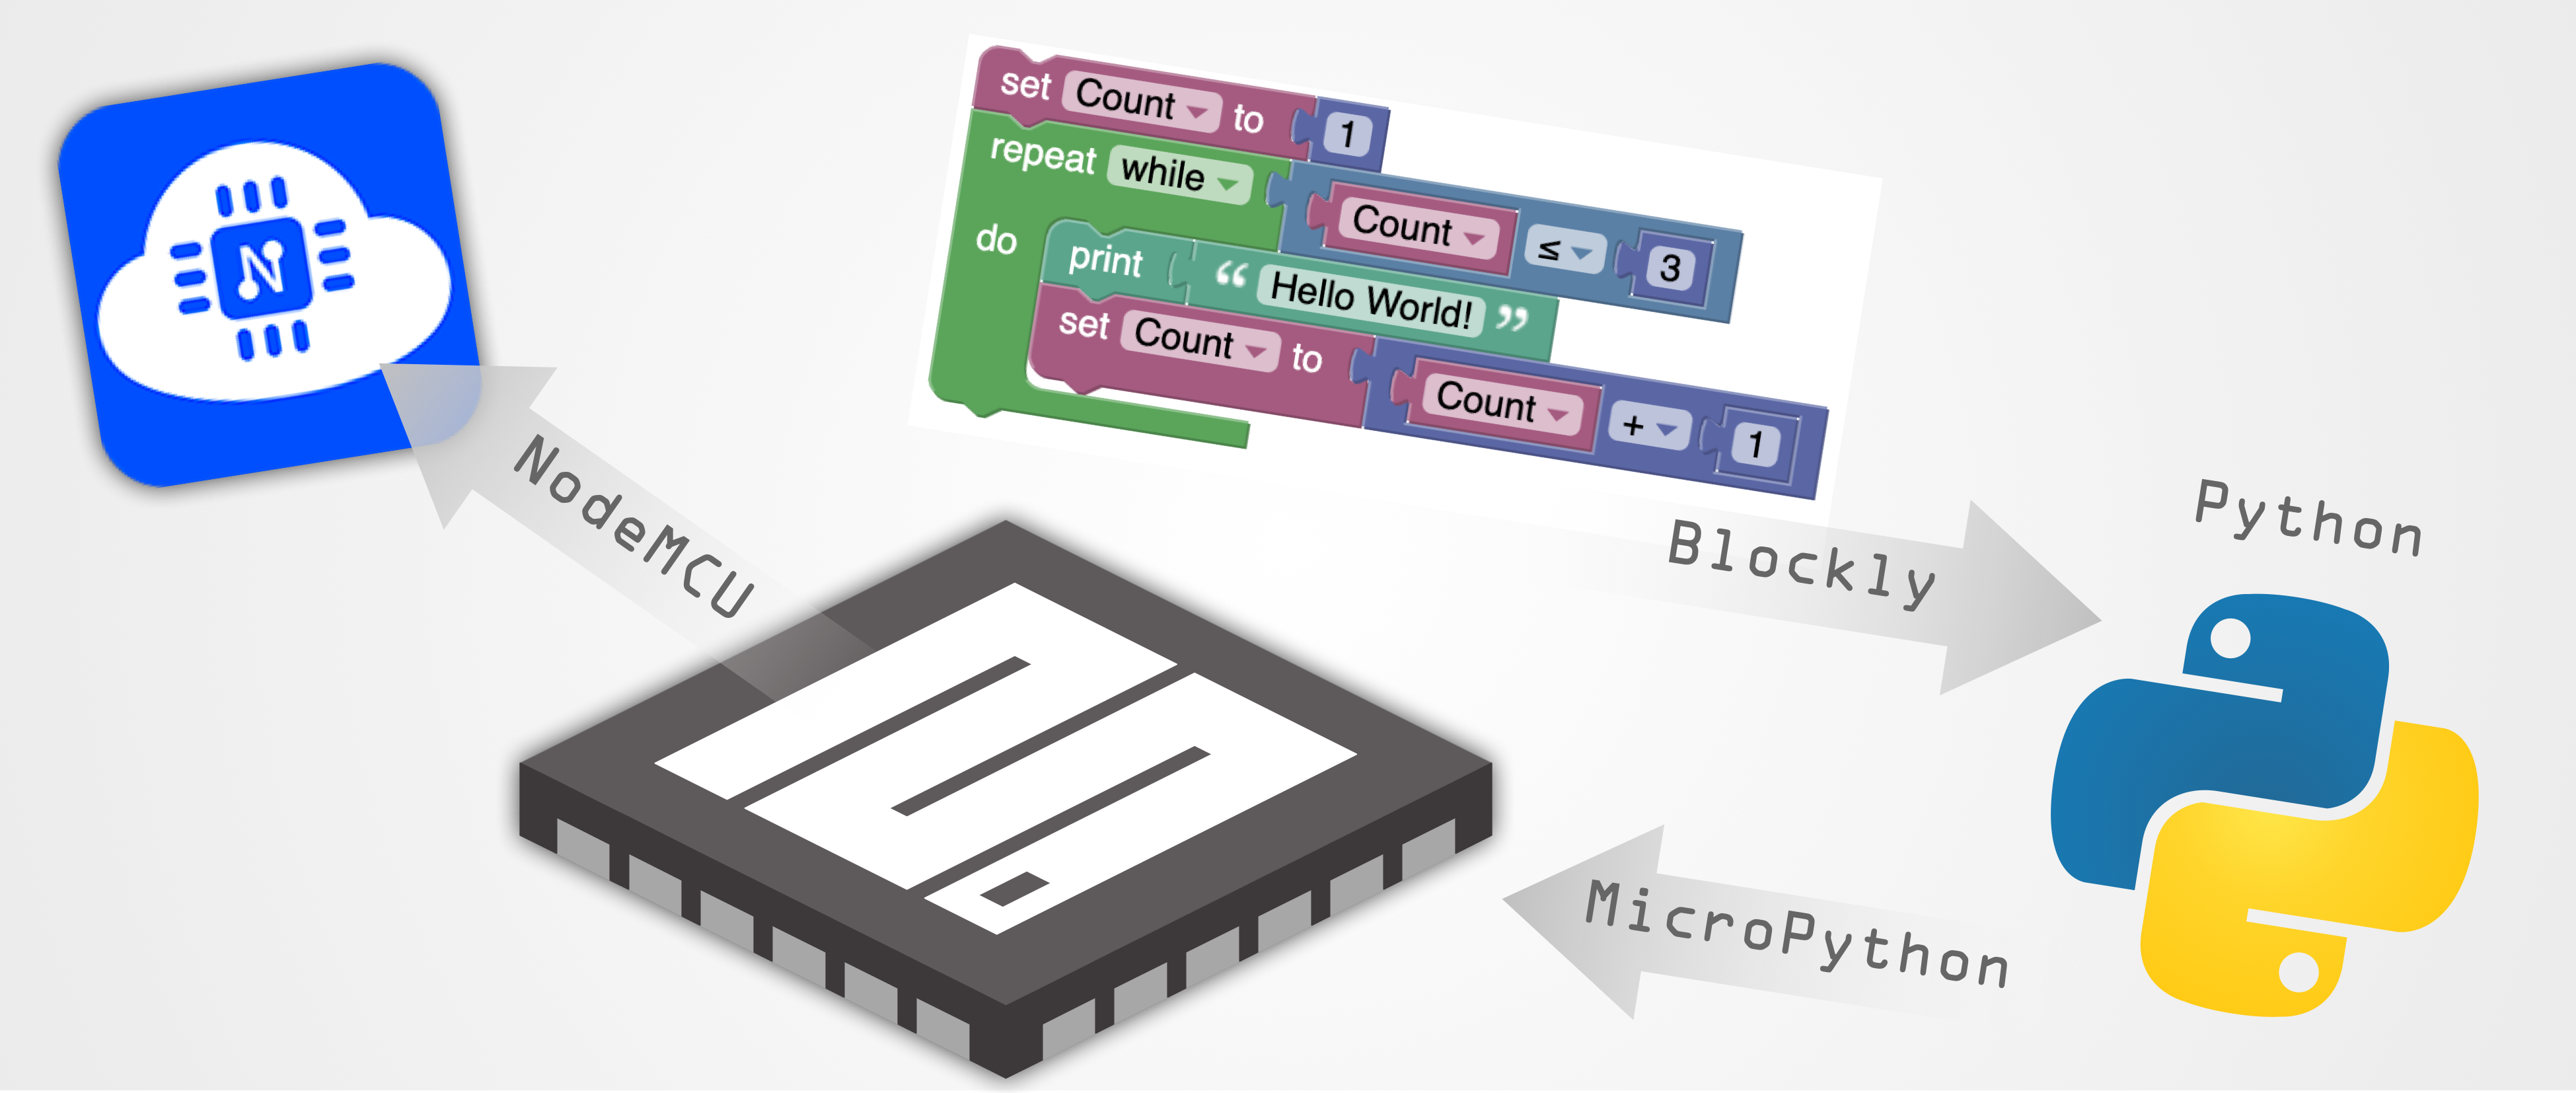
My interest is learning how to make a python based implementation of the software that runs SMARS & Otto, but based on the NodeMCU chip instead of Arduino. NodeMCU’s can run MicroPython, a special implementation of Python scaled down to run on smaller chips.
Camilo also introduced me to Blockly, a block based programming system developed by Google. Its very simliar to Scratch. So my mind has turned to an idea where you can build software using Blockly and upload it to a NodeMCU running MicroPython.
Python is easier to learn than C
I would argue that Python is much easier to learn than C for beginners. The code is cleaner, without the need for curly brackets and semicolons. These are exactly the kind of things that trip up beginners, who are just trying to get used to the syntax and keywords for a new language as well as programming logic.
So this is my latest project - creating a common platform for SMARS and Otto based on MicroPython, Blockly and NodeMCUs.

Loading MicroPython onto a NodeMCU
I use a MacBook Pro for developing code, so I had to load some drivers to get the NodeMCU to show up as a serial device. I grabbed the drivers from https://rehmann.co/blog/wp-content/uploads/2016/12/Mac_OSX_VCP_Driver.zip. I saw a note that macOS will stop using this driver after about 30minutes, so if you have issues, you can either install the driver again, or reset the Mac.
To flash the NodeMCU with MicroPython, first visit http://micropython.org/download and download the latest version.
As of January 19 2020 the current version is: esp8266-20191220-v1.12.bin
Also download nodemcu-pyflasher and run it; its on Github: https://github.com/marcelstoer/nodemcu-pyflasher
On a Mac the serial port will show up as /dev/tty.SLAB_USBtoUART
Connect to that and upload the firmware using the nodemcu_pyflasher tool, or by typing the command:
esptool.py --port /dev/tty.SLAB_USBtoUART --baud 460800 write_flash --flash_size=detect -fm dio 0 esp8266-20191220-v1.12.bin
Once its flashed you will see it show up in the wifi menu as MicroPython-xxxxxx (the xxxxxx is the last 6 digits of its MAC address, so will be unique for each board).
First plug in the NodeMCU to USB and connect to it by using a terminal emulator such as the serial monitor in the Arduino IDE, choose the baud rate 115200 and press the reset (RST) button the nodemcu. You will then see the REPL command show up.
Thonny IDE is perfectly suited to connecting the newly flashed NodeMCU running MicroPython and uploading python scripts and interactively debugging them.
In Thonny, click ‘Tools’ -> ‘Options…’ then click the ‘Interpreter’ tab. You can select Generic MicroPython from the dropdown list, and select the serial port menioted above. You will now see the remote NodeMCU ‘shell’ at the bottom of the screen.
You can now type python code and run it on the NodeMCU. To store it and run it everytime the NodeMCU starts, choose ‘Device’ -> ‘Upload current script as main script’.
Here is a link to a tutorial explaining this in more detail https://randomnerdtutorials.com/getting-started-thonny-micropython-python-ide-esp32-esp8266/.