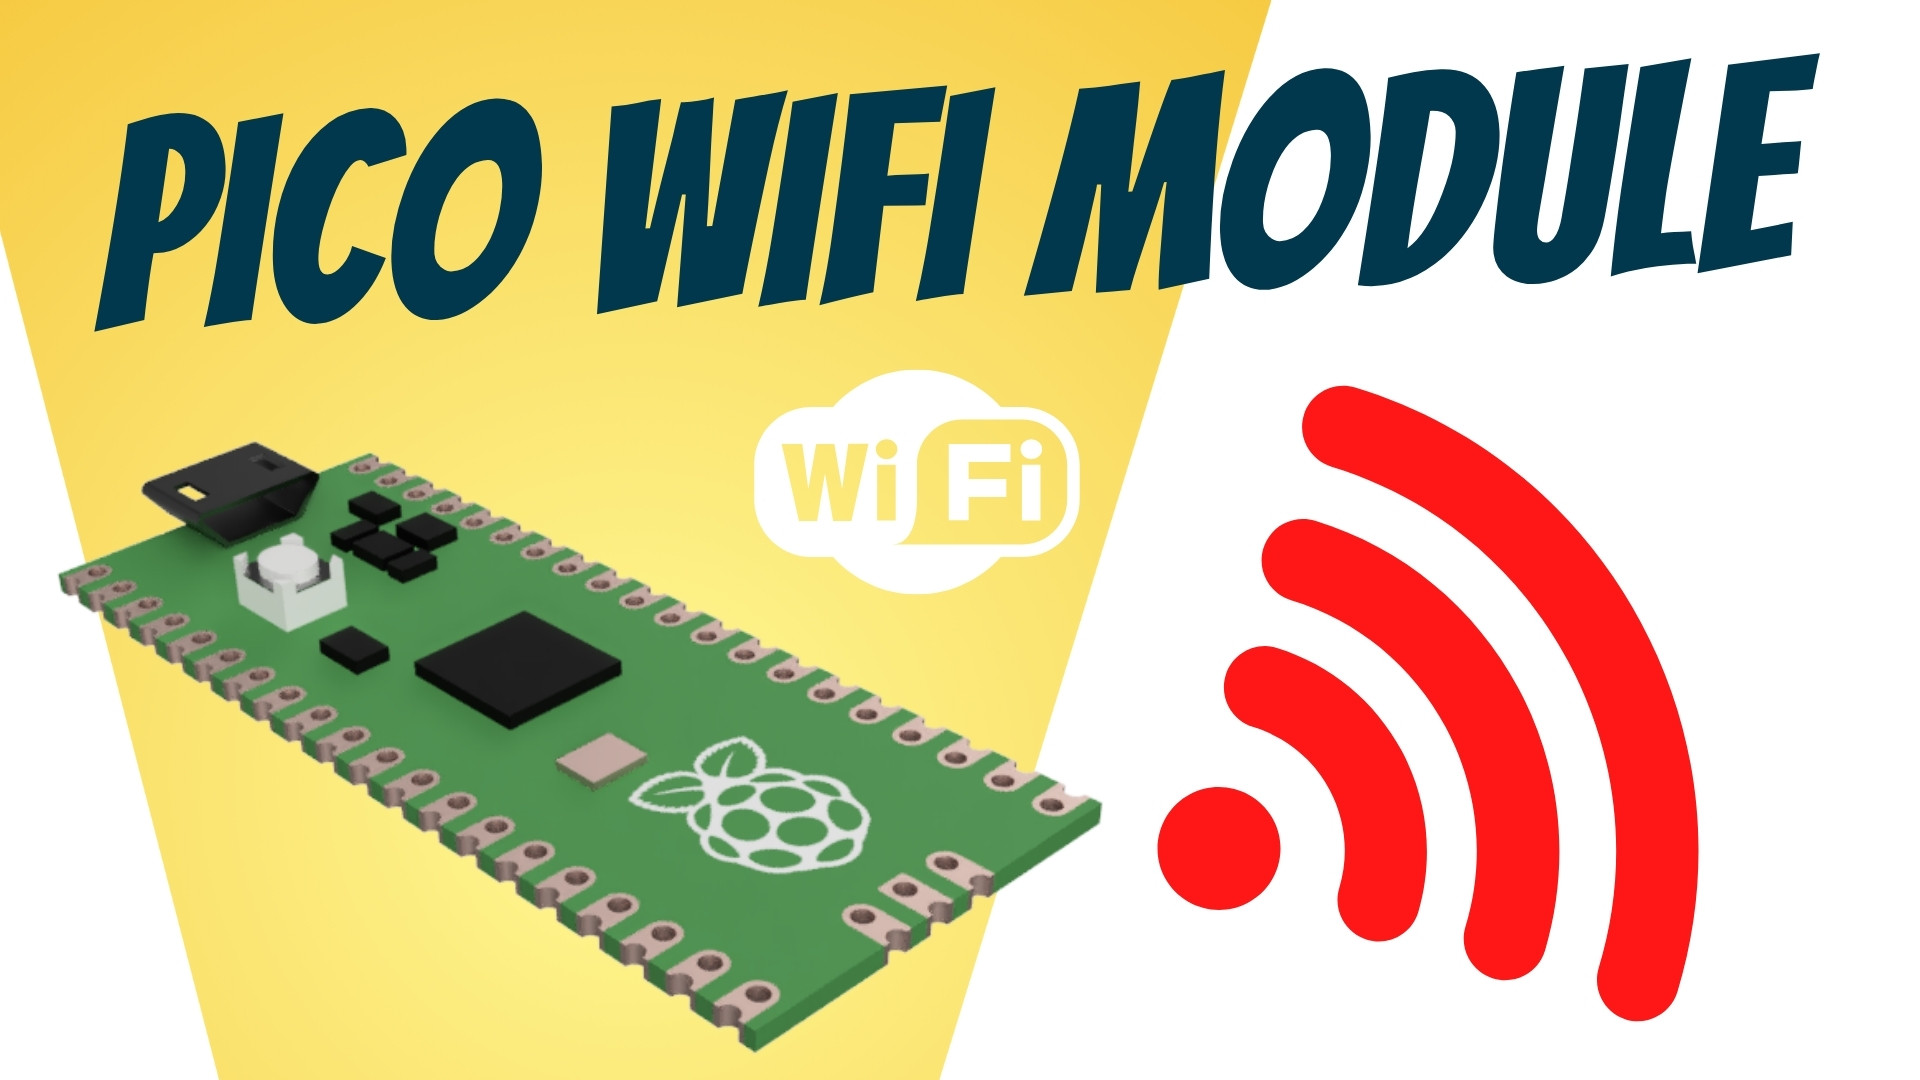
Pico Wifi Module
11 August 2021 | Kevin McAleer
Transcript from the Pico Wifi Module video on YouTube Pico Wifi Module
Intro
Hey robot makers do you want to add wi-fi to your raspberry pi pico projects then keep watching.
What you’ll need
For this project you’ll need a wemos d1 mini and a raspberry pi pico. You’ll also need four dupont cables to wire it all together.
Wiring
The wiring is very straightforward; we take the five volts and the ground from the pico and we put that into the wemos d1 mini into the ground and into the five volts on there.
We then take the receive and transmit the RX and the TX pins from pin 0 and pin 1 on the pico and we put them into the receive and transmit pins making sure that they cross over TX to RX and RX to TX.
MicroPython Files
There are two sets of files:
- there’s some files that are going to be stored on the wemos d1 mini
- and there’s some files that can be stored on the raspberry pi pico
These files are both in MicroPython which makes it a lot easier and we’re going to use serial to communicate between the two devices.
The wemos is going to communicate to our MQTT broker and the Pico will just communicate with the wemos d1 mini so the first thing we want to do is we want to flash micro python onto our wemos d1 mini so i’m over here in thony and what i’m going to do i’m going to click on the bottom right here to bring up the configure interpreter i’m going to select the esp8266 which is what the wemos d1 mini has and then i’m going to select the serial port that i’m connected to so i’ve got this all hooked up already and then i’m going to click on the install or update firmware so i’ve already downloaded the esp firmware i’ve got version 16 of micropython there and this is the one megabyte version and the port is my serial port which is this one here and make sure i’ve got the erase flash before installing and i’ve also got the from image keep if i now click install so i can see there that it’s installing it’s wiped the flash and it’s now installing the micro python on the device
okay so we’ve now installed micropython on our wemos d1 mini let’s close that and click ok i’m now just going to press this little reset button on there and that gives it a reboot we can see that’s now rebooted okay so the first set of files i’ve got i’ve called main.pi and the reason we call it main.pi is because that means that it will boot up and it will run this code automatically so the first thing we want to do is we want to bring in a secret file so we don’t want necessarily in our source code to show people what our wi-fi username and password is so we have a secret.pi and in there we can set what our wi-fi ssid is and we can also set what the wi-fi password is as well i’ve also put in there the mqtt server so if you want to know more about mqtt click on the video link on the card that’s displayed right now back to the main.pi and what we’ve got here is the code i’ve written for this so after we’ve imported our secrets our wi-fi password wi-fi sid and mqtt server ip we then import sleep and we also import the mqtt simple client so this is a library that enables us to communicate with mqtt servers and we don’t have to worry about all the complexes of how that happens behind the scenes we then import you bin asking that will help us generate a random client id in a couple of minutes time and we also import machine and the uat and pin because we’re going to be using those to connect to our serial we’re also importing micro python network esp and the esp os debug we’re setting that to none as well we then import gc which is our garbage collection and we just garbage collect anything that’s in the memory and then finally we input uos we’re going to use uos to switch off the repel because when we plug in our wemos d1 mini the repel will start this is the ripple down here that will start automatically when we connect it now we don’t want that to be running all the time when we communicate with serial because that uses the exact same serial port that we need to use to communicate with our pico so we’re actually going to switch that off so this uos dupe term none actually disables the repo while we run our code we then just set some local variables so we set the ssid to be whatever was in our secret similar with the password and then we set our mqtt server as well from our mqtt server ip we then generate a random client id and this will enable us when we connect to our mqtt server to make sure we’ve definitely got a unique id so this ubinaski.hexlifymachine.uniqueid will generate us some random characters next up we set our publish and subscribe topics so we set them to pico both of them and then we’ve got a little function there that is our subscribe so whenever a new message is sent to our mqtt server that’s on the topic that we’re interested in this little subroutine will capture that and it will print it out and it will also write it to our serial port so that will pass it off to our pico we’ve then got two pieces of code which enable the wemos d1 mini to connect to our mqtt server so there’s a connect and subscribe and there is also a restart reconnect which essentially just reboots the device so next up there’s some code here to just say wi-fi devices online so the next three lines are responsible for connecting to the wi-fi so you can see their station.connect ssid and password and the active is true so we’re making that connect we then just have a little loop which says is connected equals full so while it’s not connected it’ll just keep going around that past loop and not really do anything once it has connected it’ll fall through here and it will say that it’s connected we then just set up the serial so we just wait a second just to make sure everything’s working okay and then we can ignore the rx and tx pins they’re actually irrelevant to this we can then use my serial which is our new serial variable and we make that a uart so it’s on you at zero and it’s at 9600 board both the pico and this device need to be speaking the same baud rate we then initialize it at nine six hundred and we print the message that says serial setup complete we then try and connect and subscribe if that fails we just restart the device uh if that’s successful and we’ve actually connected we can then just say pico wi-fi online we can send that and publish it to our mqtt server on the topic pico so if we’ve got something like node red running we can actually see that that code has worked properly we then have a while true loop which means it just runs this code infinitely so it will check for any client messages on the mqtt server if there are any messages on the serial from the pico we can read in those messages we can then build up a message from that serial by reading that into our message variable and we can then publish that to the pico topic so topic pub and then message and then we just have a little sleep just to enable it to do that there’s any areas it will then just reboot the machine so it’ll keep doing this infinitely so the wi-fi companion piece is a very simple piece of code this is going to be running on the pico and this simply says import pin and uart and we then create a ua which is a serial device on id0 so we’re gonna use pins zero and pin one we then just print to the console hello world but then we write out to our serial hello and that will actually write it to the serial port the wemos d1 mini will pick that up and it will publish that to the mqtt server and then if we read in any messages coming back from the wemos d1 mini we can then read that into our message variable and this little piece of code here uft8 and ignore just make sure that there’s any garbled messages any characters that are not correct just get ignored but any true messages will be printed out to our console and then we can act on them so i’m going to copy all these files across to the wemos d1 mini so i do that by right clicking and uploading that to the root of the device so i’m going to do that with secret i’m going to do that with our mqtt simple now we don’t actually need to load the wi-fi companion because that’s going to be on our raspberry pi pico so now that we’ve got those installed there we can simply reboot the device so now that we’ve restarted our device it will run that code automatically and we won’t see anything on the ripple because remember it’s redirecting that to our serial port so what we can do to check that this is working okay is we can pull up this node-red flow that i’ve created here so node-red is something we’ve installed in some previous videos and you can see a link to those in the card above so i’ve got a flow here what this flow is going to do it’s going to publish the message test to the topic pico whenever i click that button to the left there it will inject that into the mqtt topic called pico and what we’ve got here as well is another one which listens to any messages and it just simply displays them in our debug window here so if i now reboot that device just by clicking the reset button hopefully we’ll see a pico message displayed just on screen here there we go pico wi-fi online okay so we’re now in visual studio code i just wanted to switch around because this works much easier with the pico for me so we have the code that we looked at earlier i’m simply going to run this now so we get the hello world message okay so what i’m going to do now i’m going to reboot my wemos d1 mini and we’ll see just behind on the screen here the message when it’s booted up and it’s connected to the wi-fi so it’ll say pico is online i’m now going to run my code and we can see that immediately the word hello has appeared on our screen so now when i click the the test inject node there which will inject the message test into the topic pico on our mqtt server we can see that that message is being received and being passed to our raspberry pi pico just using their simple line of code here which is this message uart dot read and then converting it to utf-8 so that means we’ve now got the communication between the wemos d1 mini wi-fi and our raspberry pi pico that means that we’ve got the whole thing working as we expected and we can do some more complicated messages so we could make robot commands such as move forward move backwards move left move right and we can also send values such as a rangefinder i hope you enjoy this short video and i shall see you next time